All About Embroidery Digitizing | Complete Guide
Unlock the secrets to successful embroidery digitizing with our complete guide. From design tips to software recommendations, we've got you covered. Start creating stunning designs today!
Embroidery digitizing, the art of transforming designs into stitch-perfect masterpieces, it combines creativity with precision to bring visions to life in thread and fabric. Whether it is an artwork, sports or company logo, or any graphical image; the real fun is to convert these images into beautiful embroidery digitization.
So what does embroidery digitizing actually mean? Simply, it is a process of digitizing your image into a format that can be read by an embroidery machine and stitch beautiful designs. Because it required dedicated embroidery software and a specialized embroidery machine that is operated by a professional digitizer.
A digitizer takes an image, artwork, or logo from a client, usually in JPG or PNG form then converts it into an embroidery file. The embroidery file format depends upon the type and brand of embroidery machine that you are using.
Let’s get started:
Table of Contents
How Does Embroidery Digitizing Work?
The embroidery digitizing begins with the uploading of the logo or artwork to digitization software. So the software converts the image into a format that creates a path for the needle. Then you need to set the embroidery design size and choose the type of stitch and its direction.
The stitching direction is an important aspect of creating a desirable outcome. But selecting the color of threads that suits your design and transferring the file for processing is also a crucial part of this work.
Digitization is considered to be an art as all about the effective presentation of design and the composition of an artwork can be simple or very complex. Here digitizer plays an important role in evaluating the design complication, its size, placement, fabric, and thread, etc. before execution.
Fact:
“Ancient embroidery was a sign of status”
Step By Step Guide for the Embroidery Digitization Process
Embroidery digitizing is the process of converting any design into a digital format that an embroidery machine can read easily.
Here is the best step-by-step tutorial about the process of digitizing embroidery:
- Creation of Design: The design that will be embroidered must be made in the first phase. Both manual labor and design software can be used for this.
- Software for Digitizing: The design is then imported into digitizing software, which transforms it into a digital format that an embroidery machine can interpret.
- Stitch Type: The stitch type that will be utilized to produce the pattern is chosen by the digitizer. This involves choosing the stitch length, density, and direction to make them perfect.
- Pathing: Next, the digitizer chooses the stitching’s application sequence, commonly known as pathing. This is an outstanding step since it has the potential to impact the finished embroidery’s general quality.
- Trimming: As the embroidery machine completes each portion of the design, the digitizer also specifies where the thread will be cut.
- Run Test: Following digitizing, the design is tested on a fabric sample to make sure it appears and behaves as planned. At this point, any necessary modifications are performed.
- Manufacturing: The design is finally prepared for manufacturing. The embroidery machine receives the supplied digital design and executes the digital instructions to produce the completed embroidery on the selected material.
The challenging process of digitizing embroidery demands knowledge and meticulous attention to detail. However, with the correct equipment and knowledge, it is possible to create stunning, excellent embroidered designs that may be utilized for a variety of purposes.
Most Commonly Used Embroidery Stitches
The quality of machine embroidery depends on the type of stitch used to create variations in design. There are a number of machine embroidery stitches out there. The most commonly used stitches can be divided into three types.
1. Run Stitch
Run stitch or straight stitch is the simplest stitch for embroidery. It is a single straight stitch that is used to create small details by repeating the line patterns. By repetition, you can create a good length and breadth in your design.
Before you do embroidery, first you apply a trace or placement stitch to create outlines for the border. As per the requirement of the design, you can create straight lines for square or curved shapes for oval or circle shapes.
The popular styles in run stitches are double rope, triple rope, and bean run stitches. Because of its simplicity and versatility, the run stitch creates clean and continuous lines that contribute to the overall precision and detail of embroidered designs.
This stitch is mainly used for showing detail in the design, making outlines, and for shading purposes. You will observe this most commonly in the design of logos and monogram fonts.
Fact:
“The first needle was created from bone”
2. Satin Stitch
Satin stitch makes a stitch in a zigzag pattern that applies the right-left-right-left rule. It is the most commonly used in machine embroidery stitching. The other names of the satin stitch are zig-zag stitch, jump stitch, or damask stitch.
It stitches from one end to another forming the letter “I” with a maximum length of 0.50 cm approximate. A digitizer must know what should be the perfect thickness for the design.
A higher thickness of half a centimeter will loosen the stitch and destroy your design. Because if the stitch is too close then there are likely chances of damaging the fabric. The recommended density size is 0.30 mm for medium-width designs.
So as a result, you can achieve a maximum stitch length of 12.1 mm with a satin stitch. When it comes to creating shiny neat and clean looks of borders and letters, satin stitch is highly recommended.
3. Fill Stitch
Fill Stitch has artistic variation in stitching, like embossing patterns where you change the length of the stitches. You can also make a less dense and more decorative design in it. You can have a maximum stitch length of 4 mm in fill stitch.
The most common style is the tatami stitch, which is a single-color stitch run in one direction. The other styles are smooth, brick, zigzag fill stitch. It also has artistic variation in stitching, like embossing patterns where you change the length of the stitches.
You can also make a less dense and more decorative design in it. You can have a maximum stitch length of 4 mm in fill stitch. This fill stitch is used worldwide because of its beautiful designs.
The most commonly used of this fill stitch is to fill a large space with a decorative texture or design. So its embroidery gives a beautiful woven appearance as it stitches in alternative rows.
Importance of Push and Pull Effect in Embroidery
The push and pull effect is an important aspect to be considered by the embroiderer before applying the design to garments. Every fabric has its natural stretch; less or more. If the fabric is more soft and elastic then there will be a higher pull in it.
To understand how it works, first, you need to know the working of embroidery or sewing machines. The machine hoop moves back and forth and its needle goes up and down to make a stitch. When the needle goes down by penetrating the fabric, it attaches to the bobbin thread and creates a pull effect. The amount pulled depends upon the length of the stitch and the stretch a fabric has.
To compensate for the pull and push effect, a digitizer should have good field experience. There are a number of factors that he should be considering like fabric, stabilizer application, design size, type of stitch, stitch direction, etc.
We provide every type of embroidery digitizing service at Karens Digitizing!!

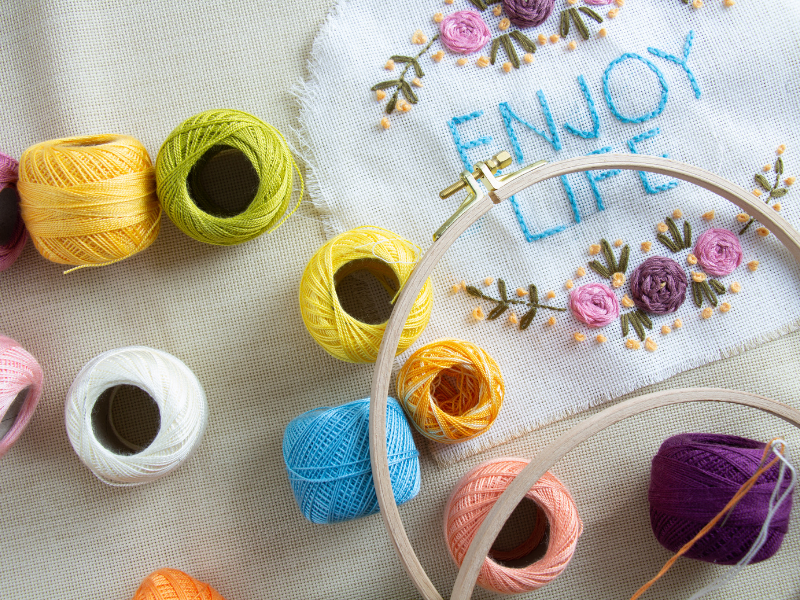
Way to Select the Best Thread for Machine Embroidery
The right selection of thread for the machine embroidery is a crucial thing. An expert digitizer must understand the significance of the relationship between thread and fabric. First, now about the types of thread used in the machines for embroidery purposes then go further.
Here are some types of thread used in the machines.
1. Rayon Thread
Rayon thread is a widely available classical thread used in machine embroidery. It is famous due to its attractive high-sheen and wide range of colors to make decorative embroidery designs.
The thread of Rayon is very light in weight and strong which helps in high-speed stitching without even wearing out. One of the best attributes is its looks, which appear to be silk thread but is very economical than that.
2. Polyester Thread
Polyester has similar characteristics to rayon thread and is also most commonly used for machine embroidery. It also gives you the option of selecting from a wide range of colors. The major difference between polyester and rayon thread is less sheen and mildew resistance. This is why it is preferred for sewing and embroidery for kids and outdoor sports.
3. Cotton Thread
Cotton thread is made from the spun cotton that is used in clothing and other similar things. However, it is not usually used in machine embroidery.
Cotton thread is a non-stretchable thread with higher durability. Due to its shrinkage resistance during washing, it is preferred for quilting.
4. Silk Thread
Silk thread is expensive and not readily available to use in the embroidery machine. It has good elasticity and strength and can be permanently stretched as well. It has a great sheen that gives the silk embroidery a premium look. Mostly it is used for hand-worked decorative effects.
So, wisely select the thread for your embroidery digitizing according to your needs.
Most Common Embroidery File Format
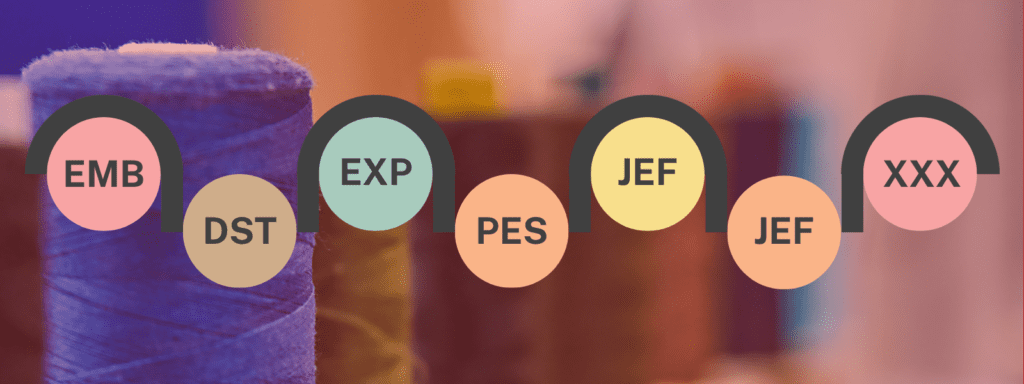
There is no uniform file format like JPG or PNG that can be used across all embroidery machines. Different companies developed their own file format for domestic and commercial machines. The embroidery file is much more than just a graphic. It contains information related to the stitching order of elements, its density, length, style, and color of thread.
The most common file formats currently used worldwide are:
Common File Formats Used by Commercial Embroidery Machines
| File Format | Machines |
| DST | Tajima Commercial Embroidery Machines |
| EXP | Melco Commercial Embroidery Machine |
| JEF | Janome Commercial Embroidery Machines |
| KWK | Brother Commercial Embroidery Machines |
| DSB | Barudan Commercial Embroidery Machines |
| TAP | Happy Commercial Embroidery Machines |
Different Types of Embroidery Machines & Their Functionality
We can categorize the embroidery machines on the basis of their functionality. There can be a single or multiple-needle embroidery machine that is used domestically and professionally. These are briefly described as follows:
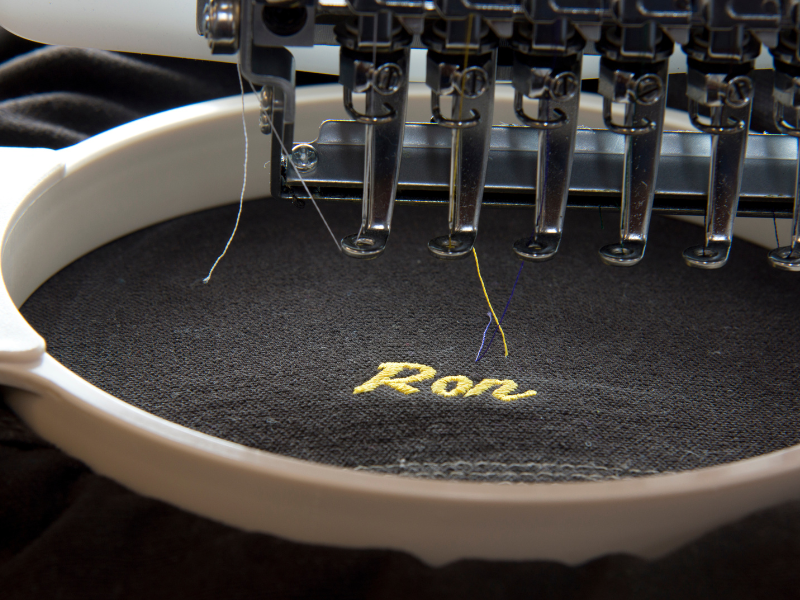
1. Single-needle Embroidery Machines
A single-needle machine can hold one thread which means one color at a time. This category of machines is mainly used for domestic purposes. It allows you to do it yourself for personalized embroidery designs on your clothes at home in an efficient way.
Another variant of the single needle is the sewing machine with embroidery functionality.
Fact:
“Singer Sewing Company revolutionized the field of Embroidery by creating a multi-head sewing machine in 1911”
2. Multi-Needle Semi-Professional Embroidery Machines
The semi-professional multi-needle embroidery machines are ranging from 4 to 10 needles. It allows a wide range of colors to work together to form amazing designs more efficiently and swiftly. Usually, home businesses and small industries are using it for commercial embroidery production.
Fact:
“In the early 1800s, the first embroidery machine was designed”
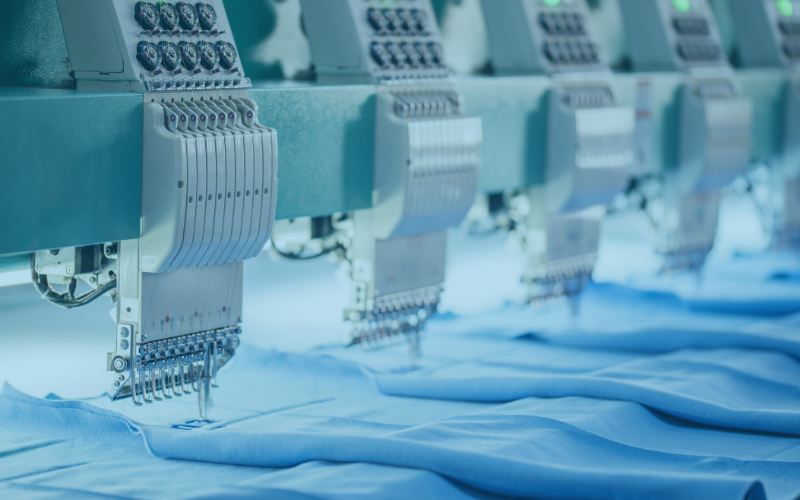
3. Multi-Needle Professional Embroidery Machines
The main objective of the multi-needle machine is to hold a variety of colors simultaneously to minimize manual labor and enhance production. Because it can hold 9 to 16 needles at a time to speed up the process.
These are not only of large size but also very expensive. Large industries are using it for mass production.
Top Embroidery Machine Providers
There are a number of companies making embroidery machines for domestic and industrial purposes. So we have listed some famous companies who are dealing in embroidery machines.
| Company | Owned by / Made | Website |
| Baby Lock | Owned by Tacony | babylock.com |
| Bernina | Swiss | Bernina.com |
| Brother | Japanese | brother.com |
| Elna | Swiss | elna.com |
| Husqvarna Viking | Owned by SVP Worldwide | Husqvarnaviking.com |
| Janome | Japanese | Janome.com |
| Kenmore | Japanese owned by Janome | kenmore.com |
| Pfaff | Owned by SVP Worldwide | Pfaff.com |
| Ricoma | Chinese | ricoma.cn |
| Singer | Owned by SVP Worldwide | singer.com |
| Toyota | Japanese | home-sewing.com |
| Tajima | Chinese | tajima.com |
If you want any kind of embroidery digitizing services just contact us or send us your requirements for quick delivery.

Karen’s Digitizing is a leading embroidery digitizing and vector art art service provider based in Connecticut, USA. With over 18 years of experience and a team of professional digitizers and vector artists, we offer top-quality services at an affordable price.